
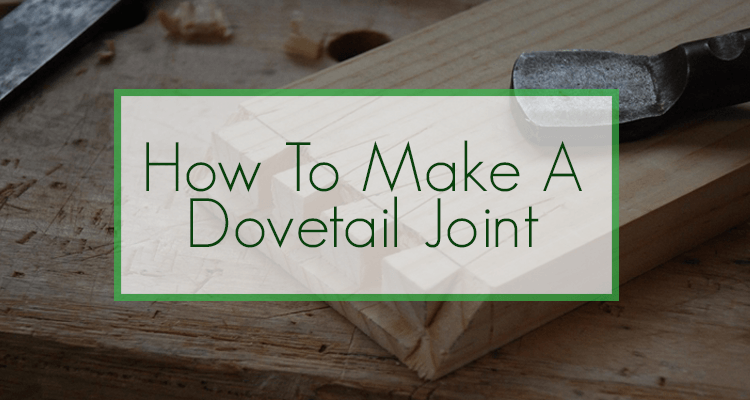
How To Make A Dovetail Joint
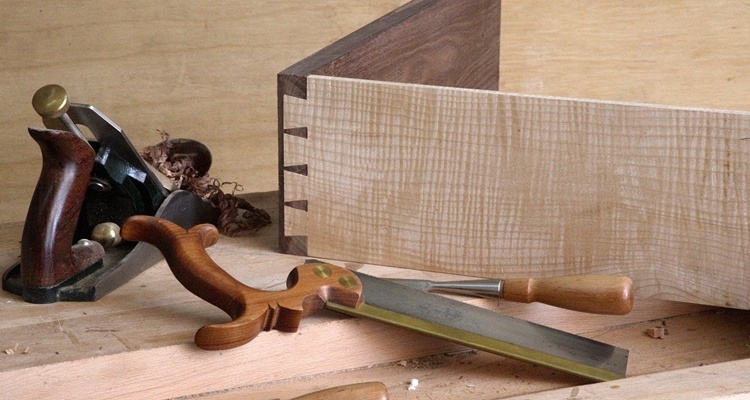
The dovetail joint is one of the most commonly used woodworking methods for joining two pieces of wood together. One of the features of this technique is the immense strength of the joint; it doesn’t require screws or any other kind of fasteners to keep the wood together. Dovetails have been used for thousands of years and examples can even be seen on the furniture found in Egyptian tombs!
Rather than using a fastener, a skilled woodworker can simply design the two pieces of wood so that they fit perfectly into one another. The dovetail joint consists of ‘pins’ and ‘tails’. The pins will be on one board while the tails will be on the other. While these pins and tails are often in a trapezoid shape, a rectangular shape is also common as it makes it easy for a dovetail saw to cut them.
In this article, I will describe several types of joints, what they are useful for and conclude with a quick guide showing you how to make a dovetail joint.
Types of Dovetail Joints & What They Are Used For
Through Dovetails
This is deemed to be one of the most basic options when it comes to making dovetail joints but it is also one of the most commonly used. Through dovetails are remarkably strong and utterly beautiful when properly constructed. The dovetails are visible in Through joints and there should be no gap between the pins and tails.
This is the dovetail of choice for box construction as it enables you to show off your craftsmanship. It is also used for day-to-day projects such as joining the corners of cabinets and frames. It is unquestionably a tough dovetail to do by hand but you can complete it easily using a router, dovetail jig and dovetailing bit.
Half-Blind Dovetail Joints
As the name suggests, half of this joint is invisible. This is the ideal option for projects such as a dresser where you don’t want the joint on the front to be seen.
Sliding Dovetail Joints
This particular joint is not used too often but it can occasionally be the perfect option for your project. It is made up of a long groove with angled sides which act as the ‘tail’. Meanwhile, a long ‘pin’ is cut into the end of the adjoining board. With this joint, you can simply slide one piece of wood into another.
The sliding dovetail joint is used when you want to join two pieces of board away from the edges. As you might expect, it is the right option for wooden drawer slides as you can simply slide the drawer in and out but not up or down.
Secret Mitered Dovetail Joints
This is the total opposite of the Through joint insofar as it is completely invisible once completed. It is commonly used in the world of carpentry when the professional doesn’t want the joint to be visible in cabinets. The ends of both boards are mitered at 45 degrees to hide the joints behind the mitered edges.
How to Make Dovetail Joints
For the sake of this article on how to cut dovetail joints, I am going to concentrate on the Through option. Here are the tools you’ll need:
- Mallet
- Bevel Edge Chisels
- Vice
- Cutting Gauge
- Dovetail Gauge
- Marking Knife
- Dividers
- Dovetail Saw
- Dovetail Square
- Pencil
- Ruler
- Smoothing Plane
- Coping Saw
- Try Square
Begin by marking a line on the first piece of wood that’s as wide as the thickness of the second piece of wood. Mark the line around every face and side of the wood. Use the dovetail gauge to mark the locations of the dovetails.
Use your marking knife to run across each line; do this nice and smoothly and you’ll end up with a straight and neat cut. Beware! Only cut the wood to be removed; otherwise you’ll end up with scratches on the pins that aren’t being taken off. A simple tip is to place an ‘X’ on every pin that is to be removed.
The next step is to place the first piece of wood in a vice and tilt it at an angle for an easier cut. Use the dovetail saw to cut the straight lines and the coping saw to cut along the bottom edge. After the dovetails have been cut out, use your chisel to clean up the joints and remove unwanted wood.
Place the second piece of timber in the vice that is level with your bench and line up the first piece of wood on top. Now you can use the dovetails as a template so you can accurately mark out your lines on the second piece.
Mark lines on the faces of the second piece of wood and ensure they are the same length as the thickness of the timber. Remember, these lines will create the ‘pins’ that interlock with the ‘tails’ so they must be completely accurate. Use your dovetail saw and coping saw again to cut out the pins and get rid of unwanted wood.
Ideally, the two pieces of wood will interlock perfectly. Use a mallet and a dry piece of wood to tap the pieces together. It is always better for the pins to be too tight as you can just remove tiny pieces of wood until you get the right fit. If the gap is too large, the project is ruined.
Conclusion
If you are a relatively inexperienced woodworker, creating these joints by hand is likely to be a difficult process. However, learning how to dovetail joint will help sharpen your hand tool skills and make you a far better craftsman. Try creating a Through dovetail joint today and enjoy the process!