
Let’s complete a little experiment: look around your home at the wooden objects you own. You might see a dining table, picture frames, doors, kitchen or bathroom cabinetry, a wooden welcome sign in the foyer, or that coaster set from Uncle Bob with your last name in them. You probably won’t be surprised to hear that most of these were created using the techniques of wood engraving.
But what about your books? Did you know that wood engraving was probably used on a few of them? Many people don’t, and it makes them a bit curious to know more about the subject. We’re here to help with everything you need to know about wood engraving.
What Is Wood Engraving?
Wood engraving in its purest form is a way to carve and etch images, letters, or art into the wood. This creates artwork in many styles and types, from totem poles to designs in things like your cabinet faceplates and the molding around your doors and windows. But it hasn’t always used just for home furnishings and décor.
The History of Wood Engraving

Wood engraving has been used for thousands of years. The earliest forms of wood engraving were used to write letters, draw pictures, and communicate with others in a time when paper and ink were not widely used.
As technology and time advanced, it became the first successful ways to create printed works such as newspapers and mass letters.
Wood artists would create an image or several images on a block of wood using sharp tools such as knives and chisels. Ink, in one or several colors, would then be applied to the block so that it could be used to stamp the image(s) onto newspapers–a much more time-efficient method for mass production.
This technique of mass printmaking was mainly used in the early 19th century until the early and mid-20th century, when advancements in technology and the printmaking industry changed printing.
However, some book illustrations and printing purposes still use wood engraving and is much prized for its artistry.
As its industrial uses began to dwindle, wood engraving found its way into the homes and hands of artists as a hobby and great pastime. Since then, motorized tools and machines have made the craft more accessible and much more popular–both as a hobby and for entrepreneurs.
Many of those creatives have built thriving businesses and staked their claim in a now-booming industry. Wood engraving techniques are seen on everything from small personal keepsakes to elaborate home décor items, cabinetry, and doors.
How Do You Engrave Wood?
The basics of wood engraving are all the same. The only difference is in the way the wood is carved or cut.
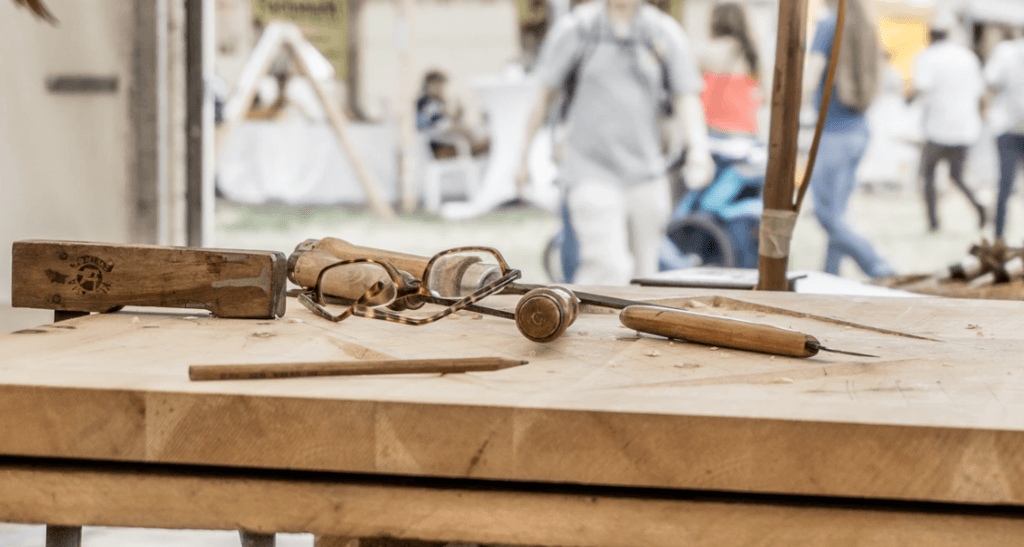
Collecting Tools
Your first step is to collect your tools and materials.
This includes:
- The design you want to create
- Stencils as needed
- Writing utensils
- Clamps or other devices, such as a vise, to ensure your art doesn’t move while it is being created
- The carving tools of your choice
- The wood to be engraved
Related Read: How to Select Woodworking Chisels
For most wood engraving, including that done for printing purposes, the wood on the surface where the design is to be located will need to be sanded well. However, this is really up to the artist and the overall finish that is desired.
Prepare
For those that are using wood engraving for print, you will now want to apply a thin layer of ink to the face of your wood. Those not engraving for print can skip this step and move on to the next section.
Make sure this layer of ink is thin, so it does not seep into the wood below the surface. Allow it to dry completely. Once it is dry, we recommend that you check the surface for any roughness. This can be removed by firmly burnishing it with a paper towel.
Transfer the Design
Now, draw or transfer your design to the wood of your choice.
Keep in mind that your carving tool limits the amount of detail you can create. Therefore, you should choose images that you know your specific device can handle.
Of course, if you practice enough, you may be able to get away with doing it all freehand with no drawing or stencil at all.
Engrave
Once your design is on the wood, it’s time to begin engraving. If you are using a handheld device, such as a chisel or Dremel tool, make sure to work slowly and steadily.
Start shallow and work your way to the depth you desire. Continue until your design is complete.
Finish
If you are satisfied with your work, you can then finish your project with paint, stain, or a coat of polyurethane unless it is for printing. This will help make sure that your artwork lasts for years to come and is protected from wear and tear.
Keep in mind its intended final location. Wooden objects that are left outside, vulnerable to the elements, may need a unique finish or an extra coat for protection.
However: if you have engraved this design for print, there is no finishing to be done. You may apply oil-based relief printing ink to the cut area and proceed to transfer the image as many times as you would like.
Just be sure to clean your tools and woodcut well using mineral spirits or vegetable oil and a clean rag after each printing session.
What Equipment Do You Need to Engrave Wood?
The equipment needed for wood engraving depends highly on what you plan to create. Each wood engraving technique and tool creates a unique look, as does the wood you choose to use.
In the same way, each instrument and technique make individual skills and talents essential for success. The following are some of the most popular tools of the trade, starting with the simplest.
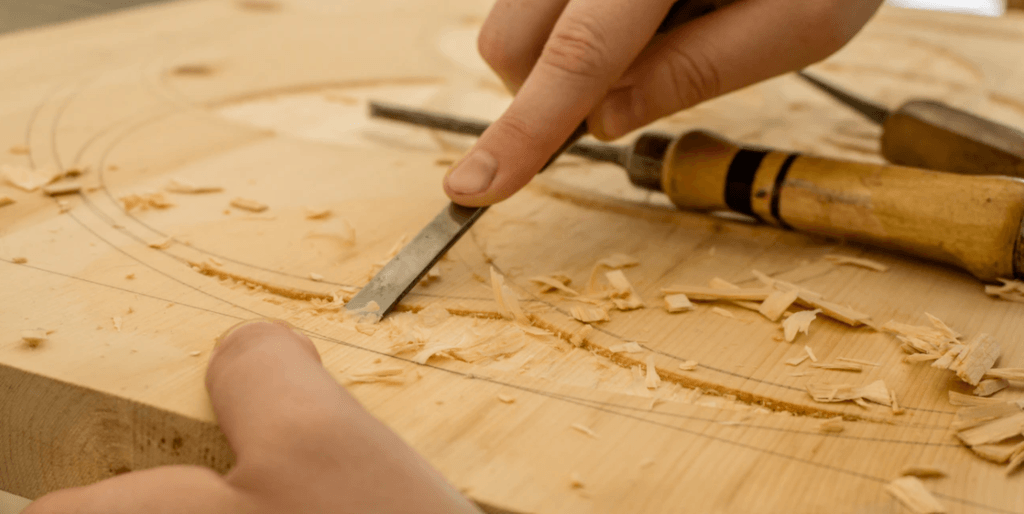
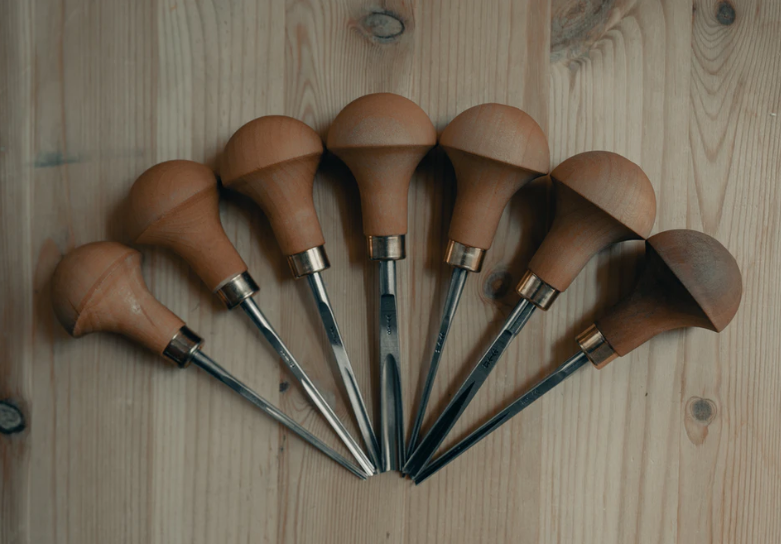
Chisel/Graver
Similar to the tools of old, these are sharp objects that allow the artist to carve a design or letters into the wood by hand. Modern “chip carving” chisels or gravers typically consist of two angled lines that form a sharp point in the middle.
This is used to cut out pieces of the wood at whatever depth the artist desires. Using hand-tools is the slowest way to engrave wood; however, it can also be the most rewarding.
Wood Burner
A wood burner is typically shaped much like a pen and is electrically powered. This tool is designed to burn shapes and designs into wood literally. It also gives the wood a unique coloring.
Wood burning tools often come in sets or kits that provide a variety of patterns to be achieved even for the amateur, making this one of the best wood engraving tools for beginners.
Related Article: The Best Woodburning Tool to Have in Your Workshop
The pen does most of the work for you. Remember that different types of wood burn at varying rates. Hardwoods, such as some maples, oak, or walnut, burn much slower and will, therefore, take longer to carve.
The burned color of the wood will also differ based on its type, so you may want to play around with different types.
Dremel/Router
These are electric or battery-powered rotary tools that are designed to cut through wood. You will use router bits of varying shapes and sizes to carve your design as you hold the device by hand.
Different bits or burs create different types of cuts in the wood. For example, a teardrop-shaped bit helps to shape angles and gives you more control, while cylinder bits are used for flat surfaces.
Related Read: Your Garage CAN Become Your Workshop!
Laser Machine
Lasers are used for more intricate designs and patterns or ones that have very fine lines and details. These lasers are housed in machines that do all the work for you.
Often these can look similar to a printer or copy machine in appearance. They are designed to replicate the image or art desired and then use a laser or a series of them to burn the image into the wood.
These can create a very complex picture in a few minutes in comparison to the weeks it could have taken by hand. However, it’s not hand-engraved, so not the same.
Professional CNC Routing Machines
CNC routing machines, in theory, work similarly to your hand-held Dremel or routing tool. They use varying sized bits or blades to create a design. However, these work on a much larger scale and are connected to computer software that enables you to create and input your design.
The computer then sends the rendered image to the machine, which moves over a piece of wood and cuts out the shape using precision and accuracy.
Conclusion
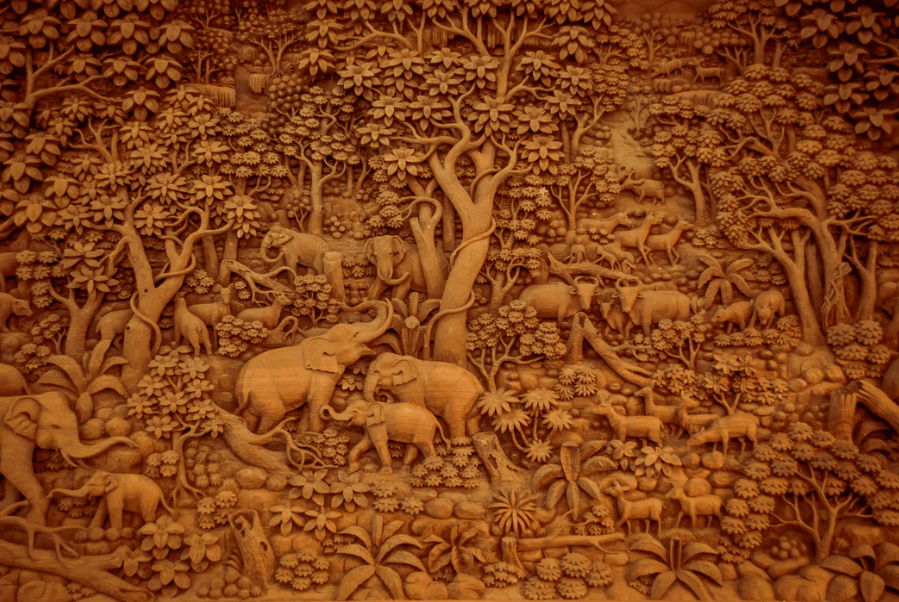
Wood engraving is an art form.
It demands precision and patience, and, depending on your tool of choice, great skill and talent. However, that hasn’t diminished its popularity. People the world over value the masterpieces made by engraving wood.
If you doubt that, just look around your home. It probably won’t take you long to find at least one item that has been created using the skills of wood engraving.
Let us know how your project turned out, in the comments, we’d love to hear about it!